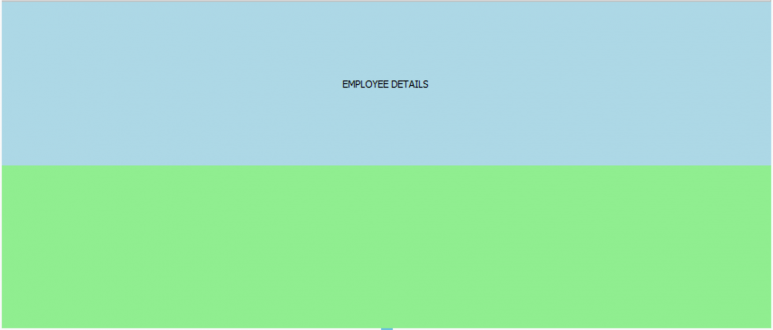
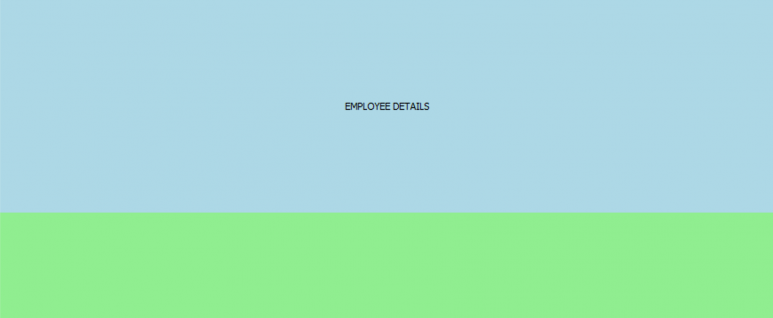
UIcontrol is added to a container with a vertical layout its width expands to the width of the container leaving space for its margins.
cont = createObject("container");
cont.backcolor = "white";
cont.layout = "Vertical"
cont.addObject("labtitle", "label");
labtitle.caption = "EMPLOYEE DETAILS";
labtitle.backcolor = "lightblue";
labtitle.alignment = "center";
cont.addObject("lab", "label");
lab.backcolor = "lightgreen";
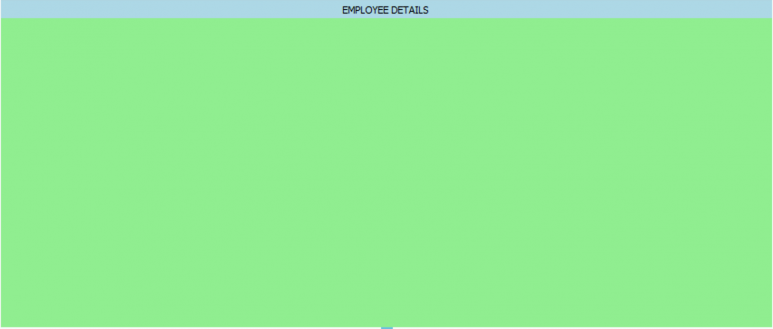
cont = createObject("container");
cont.backcolor = "white";
cont.layout = "Vertical";
cont.addObject("labtitle", "label");
labtitle.caption = "EMPLOYEE DETAILS";
labtitle.fixedheight = 20;
labtitle.backcolor = " lightblue";
labtitle.alignment = "center";
cont.addObject("lab", "label");
lab.backcolor = "lightgreen";
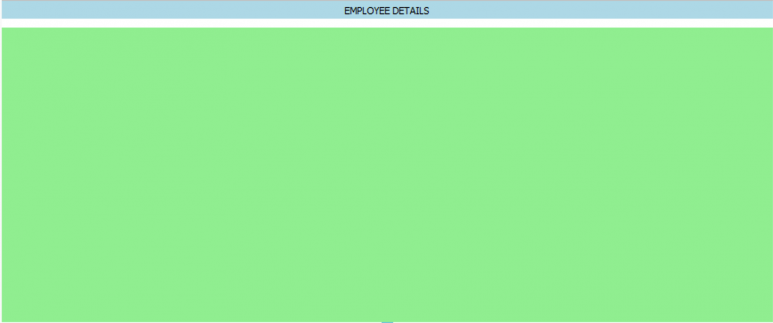
cont = createObject("container");
cont.backcolor = "white";
cont.layout = "Vertical";
cont.spacing = 10;
cont.addObject("labtitle", "label");
labtitle.caption = "EMPLOYEE DETAILS";
labtitle.fixedheight = 20;
labtitle.backcolor = " lightblue";
labtitle.alignment = "center";
cont.addObject("lab", "label");
lab.backcolor = "lightgreen";
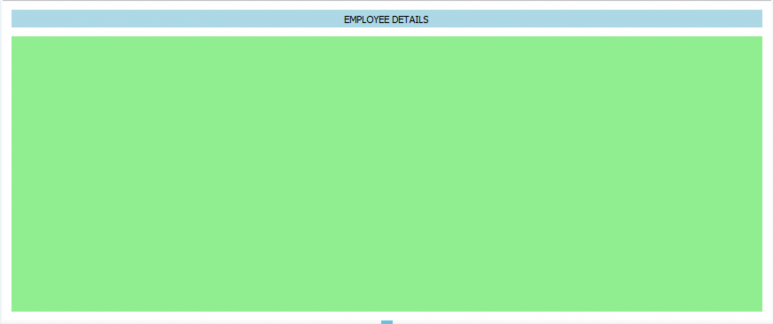
cont = createObject("container");
cont.backcolor = "white";
cont.layout = "Vertical";
cont.margin = 10;
cont.addObject("labtitle", "label");
labtitle.caption = "EMPLOYEE DETAILS";
labtitle.fixedheight = 20;
labtitle.backcolor = "lightblue";
labtitle.alignment = "center";
cont.addObject("lab", "label");
lab.backcolor = "lightgreen";
cont = createObject("container");
cont.backcolor = "white";
cont.layout = "Vertical";
cont.margintop = 5;
cont.marginright = 25;
cont.marginleft = 25;
cont.marginbottom = 50;
cont.addObject("labtitle", "label");
labtitle.caption = "EMPLOYEE DETAILS";
labtitle.fixedheight = 20;
labtitle.backcolor = "lightblue";
labtitle.alignment = "center";
cont.addObject("lab", "label");
lab.backcolor = "lightgreen";
Note: You can also specify a minheight and a maxheight for a UIcontrol.
addSpacing(space as numeric)
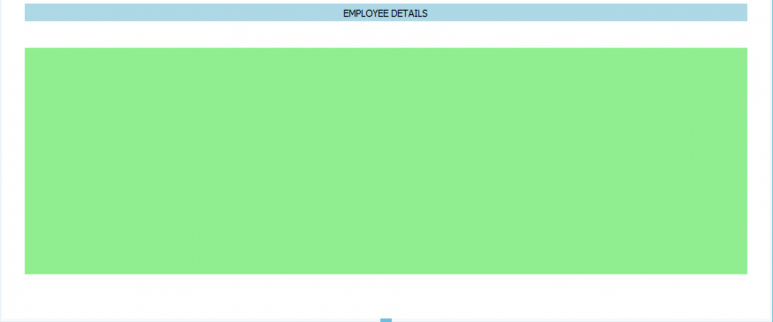
cont = createObject("container");
cont.backcolor = "white";
cont.layout = "Vertical";
cont.margintop = 5;
cont.marginright = 25;
cont.marginleft = 25;
cont.marginbottom = 50;
cont.addObject("labtitle", "label");
labtitle.caption = "EMPLOYEE DETAILS";
labtitle.fixedheight = 20;
labtitle.backcolor = "lightblue";
labtitle.alignment = "center";
cont.addSpacing(10);
cont.addObject("lab", "label");
lab.backcolor = "lightgreen";
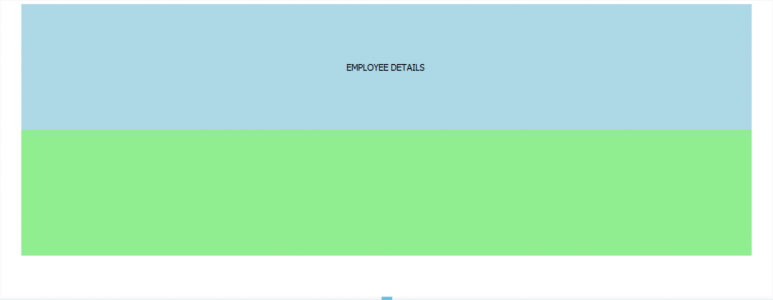
As you add UIcontrols to a vertical layout the UIcontrols (that have no fixedheight specified) will be adjusted in equal sizes vertically.
addStretch()
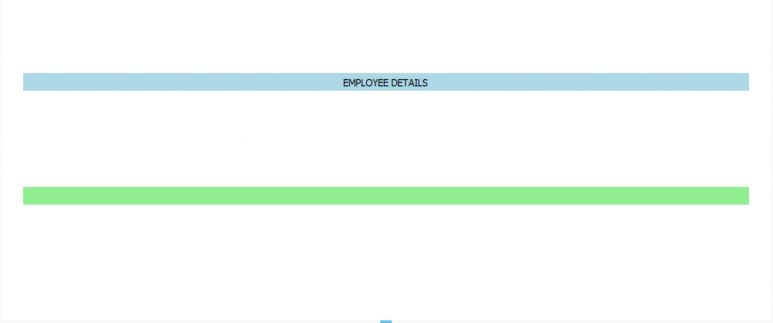
Without addStretch()
cont = createObject("container");
cont.backcolor = "white";
cont.layout = "Vertical";
cont.spacing = 10;
cont.margintop = 5;
cont.marginright = 25;
cont.marginleft = 25;
cont.marginbottom = 50;
cont.addObject("labtitle", "label");
labtitle.fixedheight = 20;
labtitle.caption = "EMPLOYEE DETAILS";
labtitle.backcolor = "lightblue";
labtitle.alignment = "center";
cont.addSpacing(20);
cont.addObject("lab", "label");
lab.backcolor = "lightgreen";
lab.fixedheight = 20;
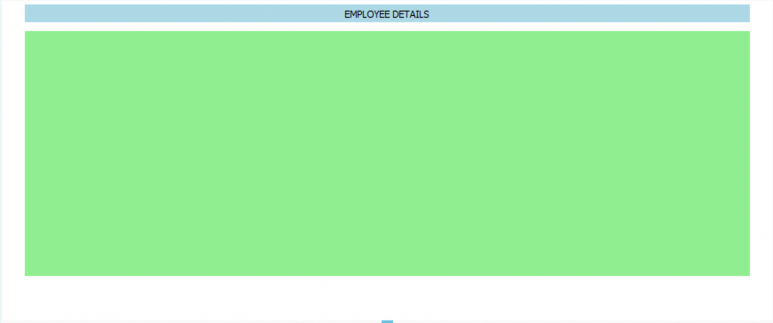
With addStretch()
cont = createObject("container");
cont.backcolor = "white";
cont.layout = "Vertical";
cont.spacing = 10;
cont.margintop = 5;
cont.marginright = 25;
cont.marginleft = 25;
cont.marginbottom = 50;
cont.addObject("labtitle", "label");
labtitle.fixedheight = 20;
labtitle.caption = "EMPLOYEE DETAILS";
labtitle.backcolor = "lightblue";
labtitle.alignment = "center";
cont.addSpacing(20);
cont.addObject("lab", "label");
lab.backcolor = "lightgreen";
lab.fixedheight = 20;
cont.addStretch();
To better handle a responsive UI you can assign a stretchfactor to each UIcontrol in the layout. So for example if you set the stretchfactor of the first UIcontrol (index 0) to 2 and the others to 1, then the first UIcontrol will be twice the height of the others.
setStretchFactor(index as numeric, stretchfactor as numeric)
cont = createObject("container");
cont.backcolor = "white";
cont.layout = "Vertical";
cont.addObject("labtitle", "label");
labtitle.caption = "EMPLOYEE DETAILS";
labtitle.backcolor = "lightblue";
labtitle.alignment = "center";
cont.addObject("lab", "label");
lab.backcolor = "lightgreen";
cont.setStretchFactor(0, 2);
cont.setStretchFactor(1, 1);
Horizontal Layout
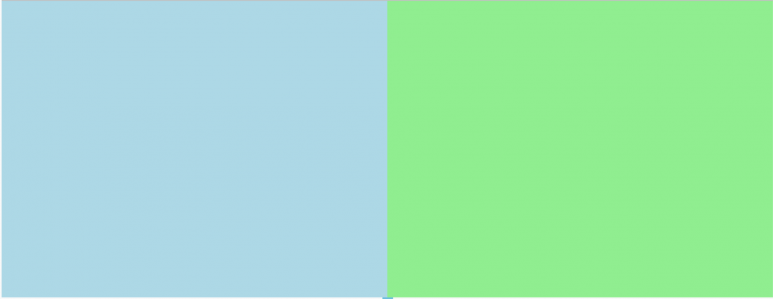
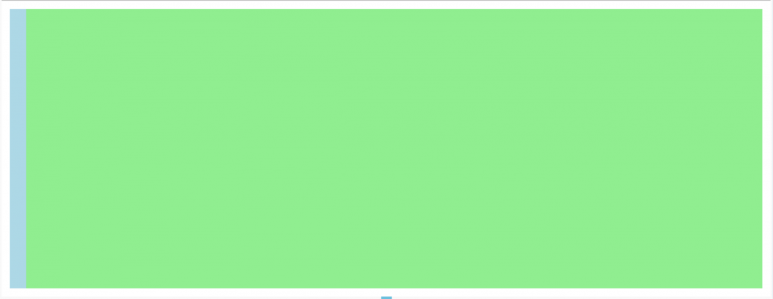
The “Horizontal” layout lines up UIcontrols horizontally.
Once a container has a horizontal layout you add UIcontrols to it using the addObject() method.
As UIcontrols are added to a container with a horizontal layout, the width of each UIcontrol in the container is adjusted automatically to fill up the width of the container adjusting for spacing between each UIcontrol and the margin around the container.
Note that when a UIcontrol is added to a container with a horizontal layout its height expands to the height of the container leaving space for its margins.
cont = createObject("container");
cont.backcolor = "white";
cont.layout = "Horizontal";
cont.addObject("labtitle", "label");
labtitle.backcolor = "lightblue";
cont.addObject("lab", "label");
lab.backcolor = "lightgreen";
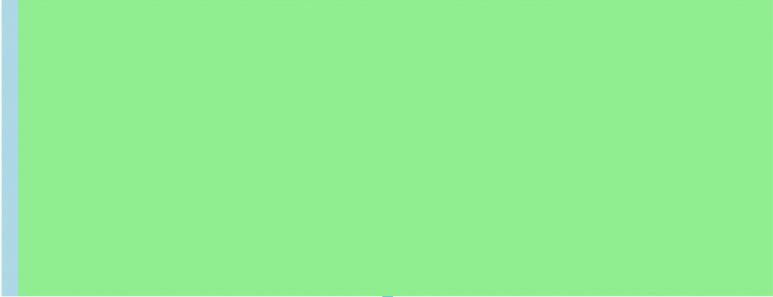
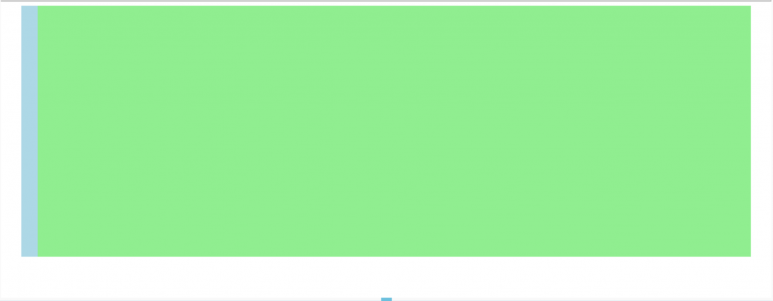
cont = createObject("container");
cont.backcolor = "white";
cont.layout = "Horizontal";
cont.addObject("labtitle", "label");
labtitle. fixedwidth = 20;
labtitle.backcolor = "lightblue";
cont.addObject("lab", "label");
lab.backcolor = "lightgreen";
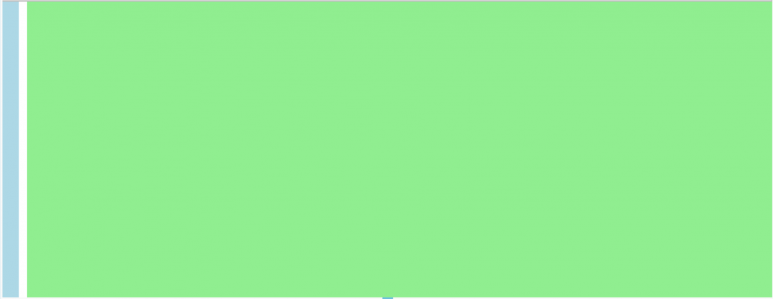
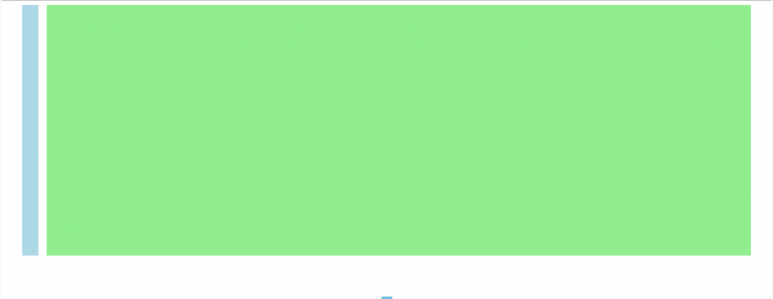
cont = createObject("container");
cont.backcolor = "white";
cont.layout = "Horizontal";
cont.spacing = 10;
cont.addObject("labtitle", "label");
labtitle. fixedwidth = 20;
labtitle.backcolor = "lightblue";
cont.addObject("lab", "label");
lab.backcolor = "lightgreen";
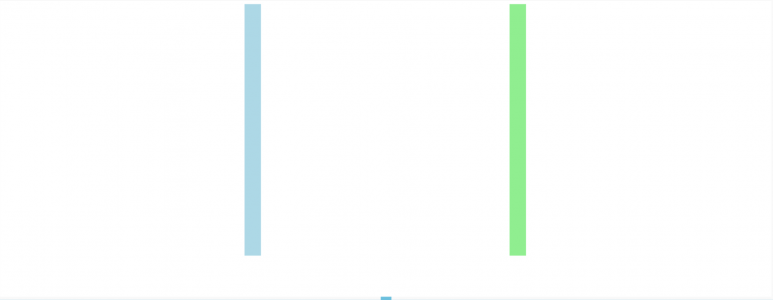
cont = createObject("container");
cont.backcolor = "white";
cont.layout = "Horizontal";
cont.margin = 10;
cont.addObject("labtitle", "label");
labtitle.fixedwidth = 20;
labtitle.backcolor = "lightblue";
cont.addObject("lab", "label");
lab.backcolor = "lightgreen";
cont = createObject("container");
cont.backcolor = "white";
cont.layout = "Horizontal";
cont.margintop = 5;
cont.marginright = 25;
cont.marginleft = 25;
cont.marginbottom = 50;
cont.addObject("labtitle", "label");
labtitle. fixedwidth = 20;
labtitle.backcolor = "lightblue";
cont.addObject("lab", "label");
lab.backcolor = "lightgreen";
Note: You can also specify a minwidth and a maxwidth for a UIcontrol.
addSpacing(space as numeric)
cont = createObject("container");
cont.backcolor = "white";
cont.layout = "Horizontal";
cont.margintop = 5;
cont.marginright = 25;
cont.marginleft = 25;
cont.marginbottom = 50;
cont.addObject("labtitle", "label");
labtitle. fixedwidth = 20;
labtitle.backcolor = "lightblue";
cont.addSpacing(10);
cont.addObject("lab", "label");
lab.backcolor = "lightgreen";
As you add UIcontrols to a horizontal layout the UIcontrols (that have no fixedwidth specified) will be adjusted in equal sizes horizontally.
addStretch()
Without addStretch()
cont = createObject("container");
cont.backcolor = "white";
cont.layout = "Horizontal";
cont.spacing = 10;
cont.margintop = 5;
cont.marginright = 25;
cont.marginleft = 25;
cont.marginbottom = 50;
cont.addObject("labtitle", "label");
labtitle. fixedwidth = 20;
labtitle.backcolor = "lightblue";
cont.addSpacing(20);
cont.addObject("lab", "label");
lab.backcolor = "lightgreen";
lab.fixedwidth = 20;
With addStretch()
cont = createObject("container");
cont.backcolor = "white";
cont.layout = "Horizontal";
cont.spacing = 10;
cont.margintop = 5;
cont.marginright = 25;
cont.marginleft = 25;
cont.marginbottom = 50;
cont.addObject("labtitle", "label");
labtitle.fixedwidth = 20;
labtitle.backcolor = "lightblue";
labtitle.alignment = "center";
cont.addSpacing(20);
cont.addObject("lab", "label");
lab.backcolor = "lightgreen";
lab.fixedwidth = 20;
cont.addStretch();
To better handle a responsive UI you can assign a stretchfactor to each UIcontrol in the layout. So for example if you set the stretchfactor of the first UIcontrol (index 0) to 2 and the others to 1, then the first UIcontrol will be twice the width of the others.
setStretchFactor(index as numeric, stretchfactor as numeric)
cont = createObject("container");
cont.backcolor = "white";
cont.layout = "Horizontal";
cont.addObject("labtitle", "label");
labtitle.caption = "EMPLOYEE DETAILS";
labtitle.backcolor = "lightblue";
labtitle.alignment = "center";
cont.addObject("lab", "label");
lab.backcolor = "lightgreen";
cont.setStretchFactor(0, 2);
cont.setStretchFactor(1, 1);
Grid Layout
The “Grid” lays out UIcontrols in a grid.
Once a container has a grid layout you add UIcontrols to it using the extended addObject() method.
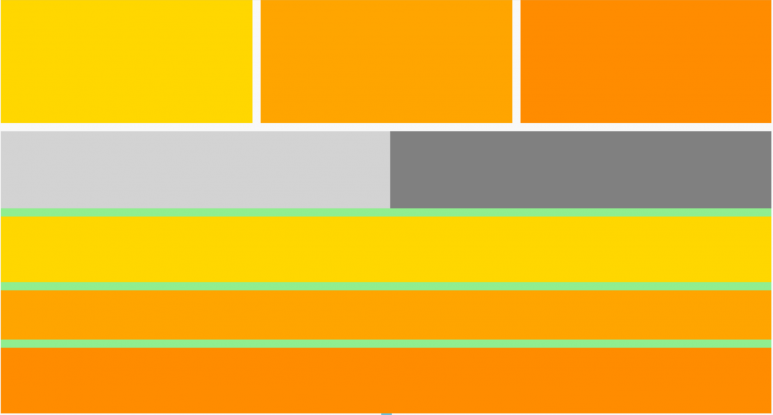
The “Grid” layout takes the space made available to it by the geometry of its container, divides it up into rows and columns, and puts each UIcontrol it manages into the correct cell.
Once a container has a grid layout you add UIcontrols to it using the extended addObject() method.
addObject(name as character, class as character, row as numeric, col as numeric [, rowspan as numeric, colspan as numeric] )
rowspan and colspan default to 1 if not specified.
cont = createObject("container");
cont.layout = "Grid";
cont.addObject("cont1", "container", 0, 0);
cont1.backcolor = "gold";
cont1.fixedheight = 150;
cont.addObject("cont2", "container", 0, 1);
cont2.backcolor = "orange";
cont.addObject("cont2", "container", 0, 2);
cont2.backcolor = "darkorange";
cont.addObject("cont3", "container", 1, 0, 1, 3);
cont3.layout = "Grid";
cont3.addObject("cont4", "container", 0, 0);
cont4.backcolor = "lightgreen";
cont4.layout = "Grid";
cont4.addObject("cont4_1", "container", 0, 0, 1, 2);
cont4_1.backcolor = "lightgray";
cont4_1.layout = "Grid";
cont4_1.addObject("cont4_1_1", "container", 0, 0);
cont4_1_1.backcolor = "lightgray";
cont4_1.addObject("cont4_1_2", "container", 0, 1);
cont4_1_2.backcolor = "gray";
cont4.addObject("cont4_2", "container", 2, 0, 1, 2);
cont4_2.backcolor = "gold";
cont4_2.fixedheight = 80;
cont4.addObject("cont4_3", "container", 3, 0, 1, 2);
cont4_3.backcolor = "orange";
cont4_3.fixedheight = 60;
cont4.addObject("cont4_4", "container", 4, 0, 1, 2);
cont4_4.backcolor = "darkorange";
cont4_4.fixedheight = 80;
cont = createObject("container");
cont.layout = "Grid";
cont.spacing = 10;
cont.addObject("cont1", "container", 0, 0);
cont1.backcolor = "gold";
cont1.fixedheight = 150;
cont.addObject("cont2", "container", 0, 1);
cont2.backcolor = "orange";
cont.addObject("cont2", "container", 0, 2);
cont2.backcolor = "darkorange";
cont.addObject("cont3", "container", 1, 0, 1, 3);
cont3.layout = "Grid";
cont3.spacing = 10;
cont3.addObject("cont4", "container", 0, 0);
cont4.backcolor = "lightgreen";
cont4.layout = "Grid";
cont4.spacing = 10;
cont4.addObject("cont4_1", "container", 0, 0, 1, 2);
cont4_1.backcolor = "lightgray";
cont4_1.layout = "Grid";
cont4_1.spacing = 10;
cont4_1.addObject("cont4_1_1", "container", 0, 0);
cont4_1_1.backcolor = "lightgray";
cont4_1.addObject("cont4_1_2", "container", 0, 1);
cont4_1_2.backcolor = "gray";
cont4.addObject("cont4_2", "container", 2, 0, 1, 2);
cont4_2.backcolor = "gold";
cont4_2.fixedheight = 80;
cont4.addObject("cont4_3", "container", 3, 0, 1, 2);
cont4_3.backcolor = "orange";
cont4_3.fixedheight = 60;
cont4.addObject("cont4_4", "container", 4, 0, 1, 2);
cont4_4.backcolor = "darkorange";
cont4_4.fixedheight = 80;
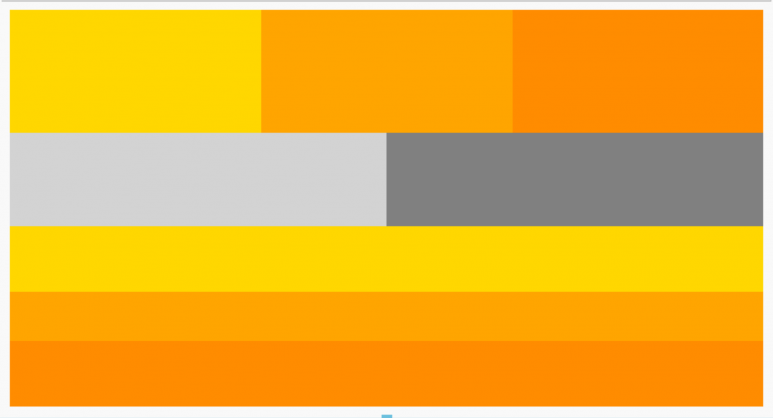
cont = createObject("container");
cont.layout = "Grid";
cont.margin = 10;
cont.addObject("cont1", "container", 0, 0);
cont1.backcolor = "gold";
cont1.fixedheight = 150;
cont.addObject("cont2", "container", 0, 1);
cont2.backcolor = "orange";
cont.addObject("cont2", "container", 0, 2);
cont2.backcolor = "darkorange";
cont.addObject("cont3", "container", 1, 0, 1, 3);
cont3.layout = "Grid";
cont3.addObject("cont4", "container", 0, 0);
cont4.backcolor = "lightgreen";
cont4.layout = "Grid";
cont4.addObject("cont4_1", "container", 0, 0, 1, 2);
cont4_1.backcolor = "lightgray";
cont4_1.layout = "Grid";
cont4_1.addObject("cont4_1_1", "container", 0, 0);
cont4_1_1.backcolor = "lightgray";
cont4_1.addObject("cont4_1_2", "container", 0, 1);
cont4_1_2.backcolor = "gray";
cont4.addObject("cont4_2", "container", 2, 0, 1, 2);
cont4_2.backcolor = "gold";
cont4_2.fixedheight = 80;
cont4.addObject("cont4_3", "container", 3, 0, 1, 2);
cont4_3.backcolor = "orange";
cont4_3.fixedheight = 60;
cont4.addObject("cont4_4", "container", 4, 0, 1, 2);
cont4_4.backcolor = "darkorange";
cont4_4.fixedheight = 80;
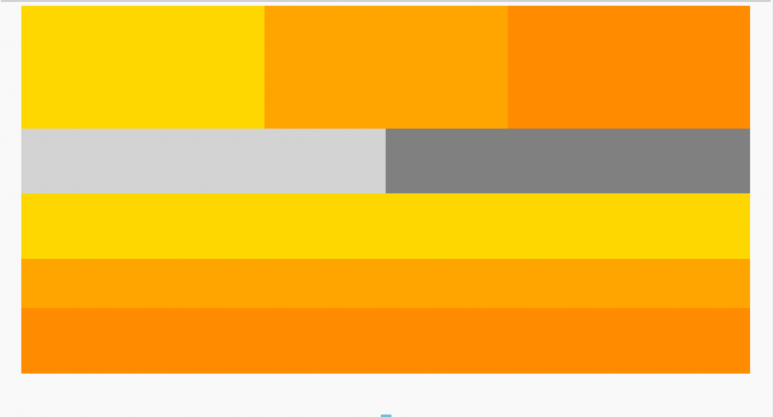
cont = createObject("container");
cont.layout = "Grid";
cont.margintop = 5;
cont.marginright = 25;
cont.marginleft = 25;
cont.marginbottom = 50;
cont.addObject("cont1", "container", 0, 0);
cont1.backcolor = "gold";
cont1.fixedheight = 150;
cont.addObject("cont2", "container", 0, 1);
cont2.backcolor = "orange";
cont.addObject("cont2", "container", 0, 2);
cont2.backcolor = "darkorange";
cont.addObject("cont3", "container", 1, 0, 1, 3);
cont3.layout = "Grid";
cont3.addObject("cont4", "container", 0, 0);
cont4.backcolor = "lightgreen";
cont4.layout = "Grid";
cont4.addObject("cont4_1", "container", 0, 0, 1, 2);
cont4_1.backcolor = "lightgray";
cont4_1.layout = "Grid";
cont4_1.addObject("cont4_1_1", "container", 0, 0);
cont4_1_1.backcolor = "lightgray";
cont4_1.addObject("cont4_1_2", "container", 0, 1);
cont4_1_2.backcolor = "gray";
cont4.addObject("cont4_2", "container", 2, 0, 1, 2);
cont4_2.backcolor = "gold";
cont4_2.fixedheight = 80;
cont4.addObject("cont4_3", "container", 3, 0, 1, 2);
cont4_3.backcolor = "orange";
cont4_3.fixedheight = 60;
cont4.addObject("cont4_4", "container", 4, 0, 1, 2);
cont4_4.backcolor = "darkorange";
cont4_4.fixedheight = 80;
Form Layout
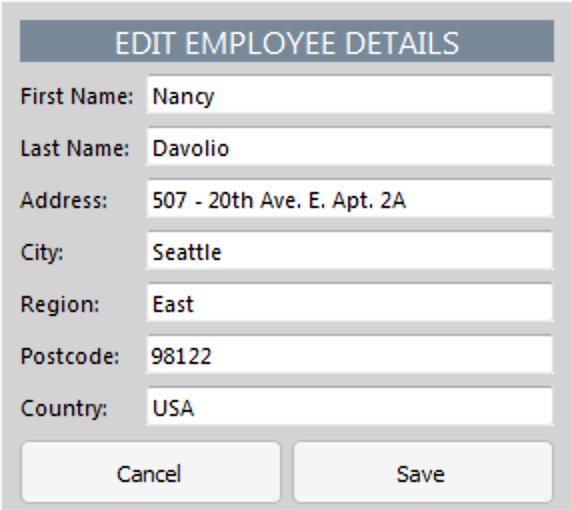
The “Form” layout manages forms of UIcontrols and their associated labels laying them out vertically.
The “Form” layout lays out its children in a two-column form. The left column consists of labels and the right column consists of UIcontrols.
Once a container has a form layout you add UIcontrols to it using the addRow() method.
addRow(caption as character, name as character, class as character)
If the “caption” is empty i.e. “” then nothing displays in the first column of the row and the UIcontrol extends across two columns.
The “name” is the name of the object variable to be created.
The “class” is the UIcontrol class e.g. textbox, combobox, etc
As rows are added to a container with a form layout, each row is added sequentially from top to bottom adjusting its size taking into consideration spacing between each row and the margin around the container.
Example code taken from the example_smartgrid app.
////////////////////////////////////////////////////////////////

// Custom editor for column 'section1.column5'
function page1_section1_column5_customeditor(controlsource,row,col)
{
    var employees = Lianja.getCursor("employees");
    econt = createObject("econt","container");
    econt.layout = "Form";
    econt.addRow("", "formheading", "label");
    formheading.caption = "EDIT EMPLOYEE DETAILS";
    formheading.fontsize = 12;
    formheading.alignment = "center";
    formheading.backcolor = "lightslategray";
    formheading.forecolor = "white";
    econt.addRow("First Name:", "firstname", "textbox");
    firstname.controlsource = "employees.firstname";
    econt.addRow("Last Name:", "lastname", "textbox");
    lastname.controlsource = "employees.lastname";
    econt.addRow("Address:", "address", "textbox");
    address.controlsource = "employees.address";
    econt.addRow("City:", "city", "textbox");
    city.controlsource = "employees.city";
    econt.addRow("Region:", "region", "textbox");
    region.controlsource = "employees.region";
    econt.addRow("Postcode:", "postalcode", "textbox");
    postalcode.controlsource = "employees.postalcode";
    econt.addRow("Country:", "country", "textbox");
    country.controlsource = "employees.country";
    econt.backcolor = "lightgray";
    econt.addRow("", "buttons", "container");
    buttons.backcolor = "lightgray";
    buttons.layout = "Horizontal";
    buttons.spacing = 5;
    buttons.addObject("cancelbtn", "commandbutton");
    cancelbtn.caption = "Cancel";
    cancelbtn.stylesheet = "btn btn-sm btn-block btn-default";
    cancelbtn.click = function()
    {
        Lianja.get("page1.section1").grid.cancel();
    };
    buttons.addObject("savebtn", "commandbutton");
    savebtn.caption = "Save";
    savebtn.stylesheet = "btn btn-sm btn-block btn-default";
    savebtn.click = function()
    {
        Lianja.get("page1.section1").grid.save();
    };
    buttons.minheight = 34;
    econt.fixedheight = 254;
    return econt;
};
https://www.lianja.com/doc/index.php/Understanding_UI_Layouts




.png)
.png)


.png)
.png)

.png)


